Getting started with maps and placemarks
This tutorial explains how to get started with MapKit SDK lite in your Android application.
It describes how to create a map with a placemark for a specific location.
Step 1. Get the MapKit API key
Before you can use MapKit SDK in your application, you need the API key.
Go to the Mappable Account and register a new account or log in to an existing. The main page will display a key that is suitable for any Mappable service.
Step 2. Install the MapKit library
The MapKit SDK library for Android 5.0 and later is available in the Maven Central repository.
-
Create a new project or open an existing one, for example, in Android Studio.
-
Open the project's
build.gradlefile. In therepositoriessection, add the Maven Central and Google Maven repositories:repositories { ... mavenCentral() maven { url "http://maven.google.com/" } } -
Open the application's (module's)
build.gradlefile. In thedependenciessection, add the following dependency:dependencies { // The lite library only contains the map, traffic layer, // LocationManager, and UserLocationLayer and lets you download offline maps (in the paid version only). implementation 'world.mappable.android:maps.mobile:1.0.2-lite' // The full library supplements lite version features with car routing, // bike routing, pedestrian routing, and public transport routing, // search, suggest, geocoding, and panorama display. // implementation 'world.mappable.android:maps.mobile:1.0.2-full' } -
Synchronize the project to apply the changes. For example, in Android Studio, you can click Sync Now or select File → Synchronize from the menu. Wait for synchronization to finish.
If synchronization succeeds, the library is automatically added to the project when it is compiled.
Step 3. Provide the API key to MapKit
The MapKit SDK requires you to set up the API key in the MapKitFactory.setApiKey method. We recommend doing that in your Application.onCreate method.
override fun onCreate() {
    super.onCreate()
    MapKitFactory.setApiKey("YOUR_API_KEY")
}
If you don't want to put your API key under a version control system, you can read it from the local.properties file using the BuildConfig class:
-
Open or create the project's
local.propertiesfile. Add the following property with your API key value in place of theYOUR_API_KEYplaceholder:MAPKIT_API_KEY=YOUR_API_KEYNote
Make sure your
local.propertiesfile is ignored by your VCS. -
Open the project's
build.gradlefile. Add the code for the loading API key from thelocal.propertiesfile:ext { mapkitApiKey = getMapkitApiKey() } private String getMapkitApiKey() { def properties = new Properties() project.file("local.properties").withInputStream { properties.load(it) } return properties.getProperty("MAPKIT_API_KEY", "") } -
In the application's
build.gradlefile, enter the loaded API key valuemapkitApiKeyin the field of the BuildConfig:defaultConfig { // ... buildConfigField "String", "MAPKIT_API_KEY", "\"${mapkitApiKey}\"" } -
Finally, set your API key in
MapKitFactoryusing theBuildConfig.MAPKIT_API_KEYfield:override fun onCreate() { super.onCreate() MapKitFactory.setApiKey(BuildConfig.MAPKIT_API_KEY) }
Step 4. Add the map to your Activity
-
Add the
MapViewto your Activity layout:<world.mappable.mapkit.mapview.MapView android:id="@+id/mapview" android:layout_width="match_parent" android:layout_height="match_parent" app:layout_constraintBottom_toBottomOf="parent" app:layout_constraintEnd_toEndOf="parent" app:layout_constraintStart_toStartOf="parent" app:layout_constraintTop_toTopOf="parent" /> -
To initialize the MapKit library, call the MapKitFactory.initialize method in
Activity.onCreate. Create a privatemapView: MapViewproperty.private lateinit var mapView: MapView override fun onCreate(savedInstanceState: Bundle?) { super.onCreate(savedInstanceState) MapKitFactory.initialize(this) setContentView(R.layout.activity_main) mapView = findViewById(R.id.mapview) }Warning
The
MapKitFactory.initialize(Context)call loads the MapKit's required native libraries. -
Send
onStartandonStopevents toMapKitFactoryandMapViewby overriding theActivity.onStartandActivity.onStopmethods for the Activity:override fun onStart() { super.onStart() MapKitFactory.getInstance().onStart() mapView.onStart() } override fun onStop() { mapView.onStop() MapKitFactory.getInstance().onStop() super.onStop() }Otherwise, MapKit will be not able to display the map and will stop processing it when the Activity with the map becomes invisible to users.
-
Build and run your application. There's an example of the Activity with the tappable map:
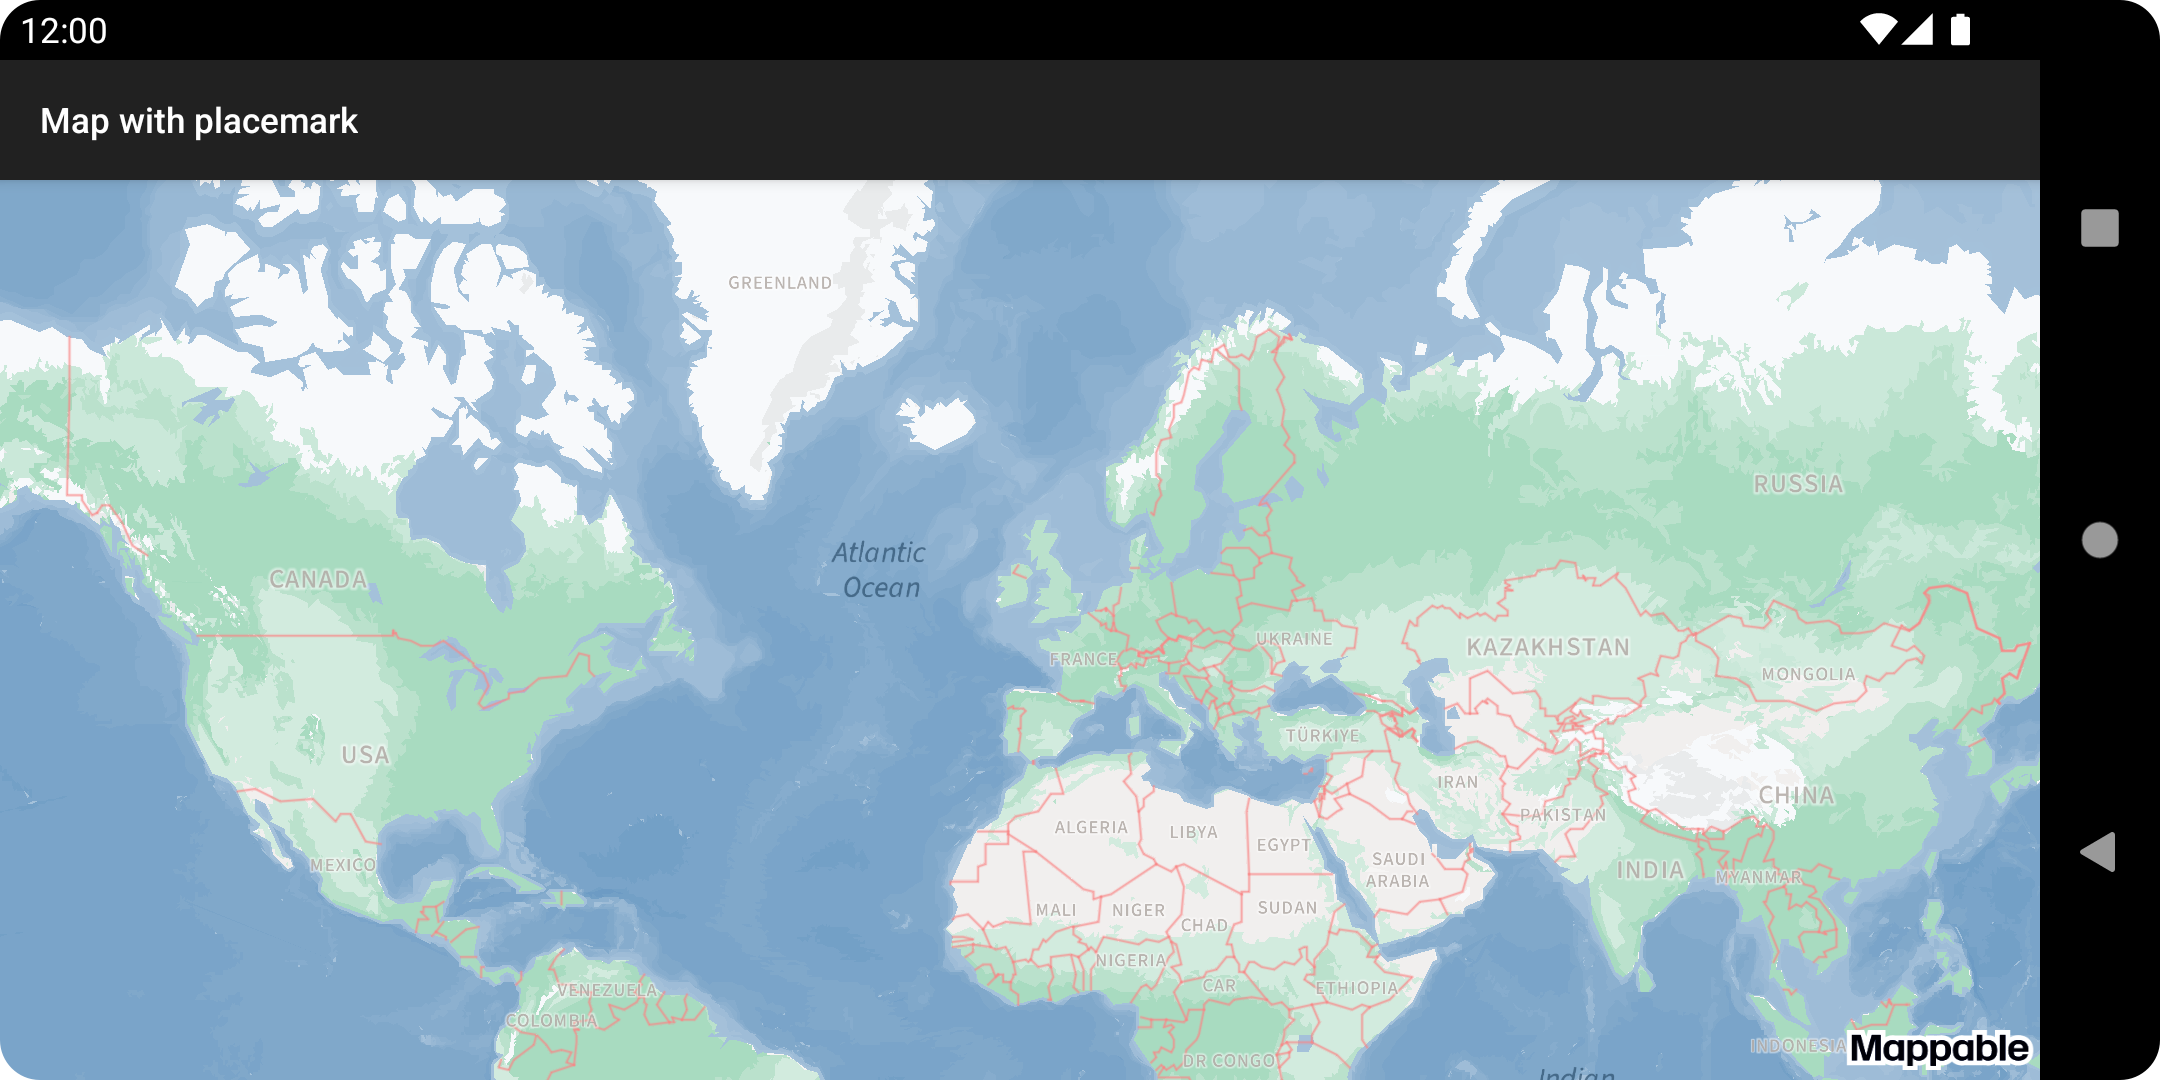
Maps support multiple actions by default: move, rotate, change the zoom, and tilt.
Without additional setup, the map will be shown with the smallest possible zoom for the user's screen. -
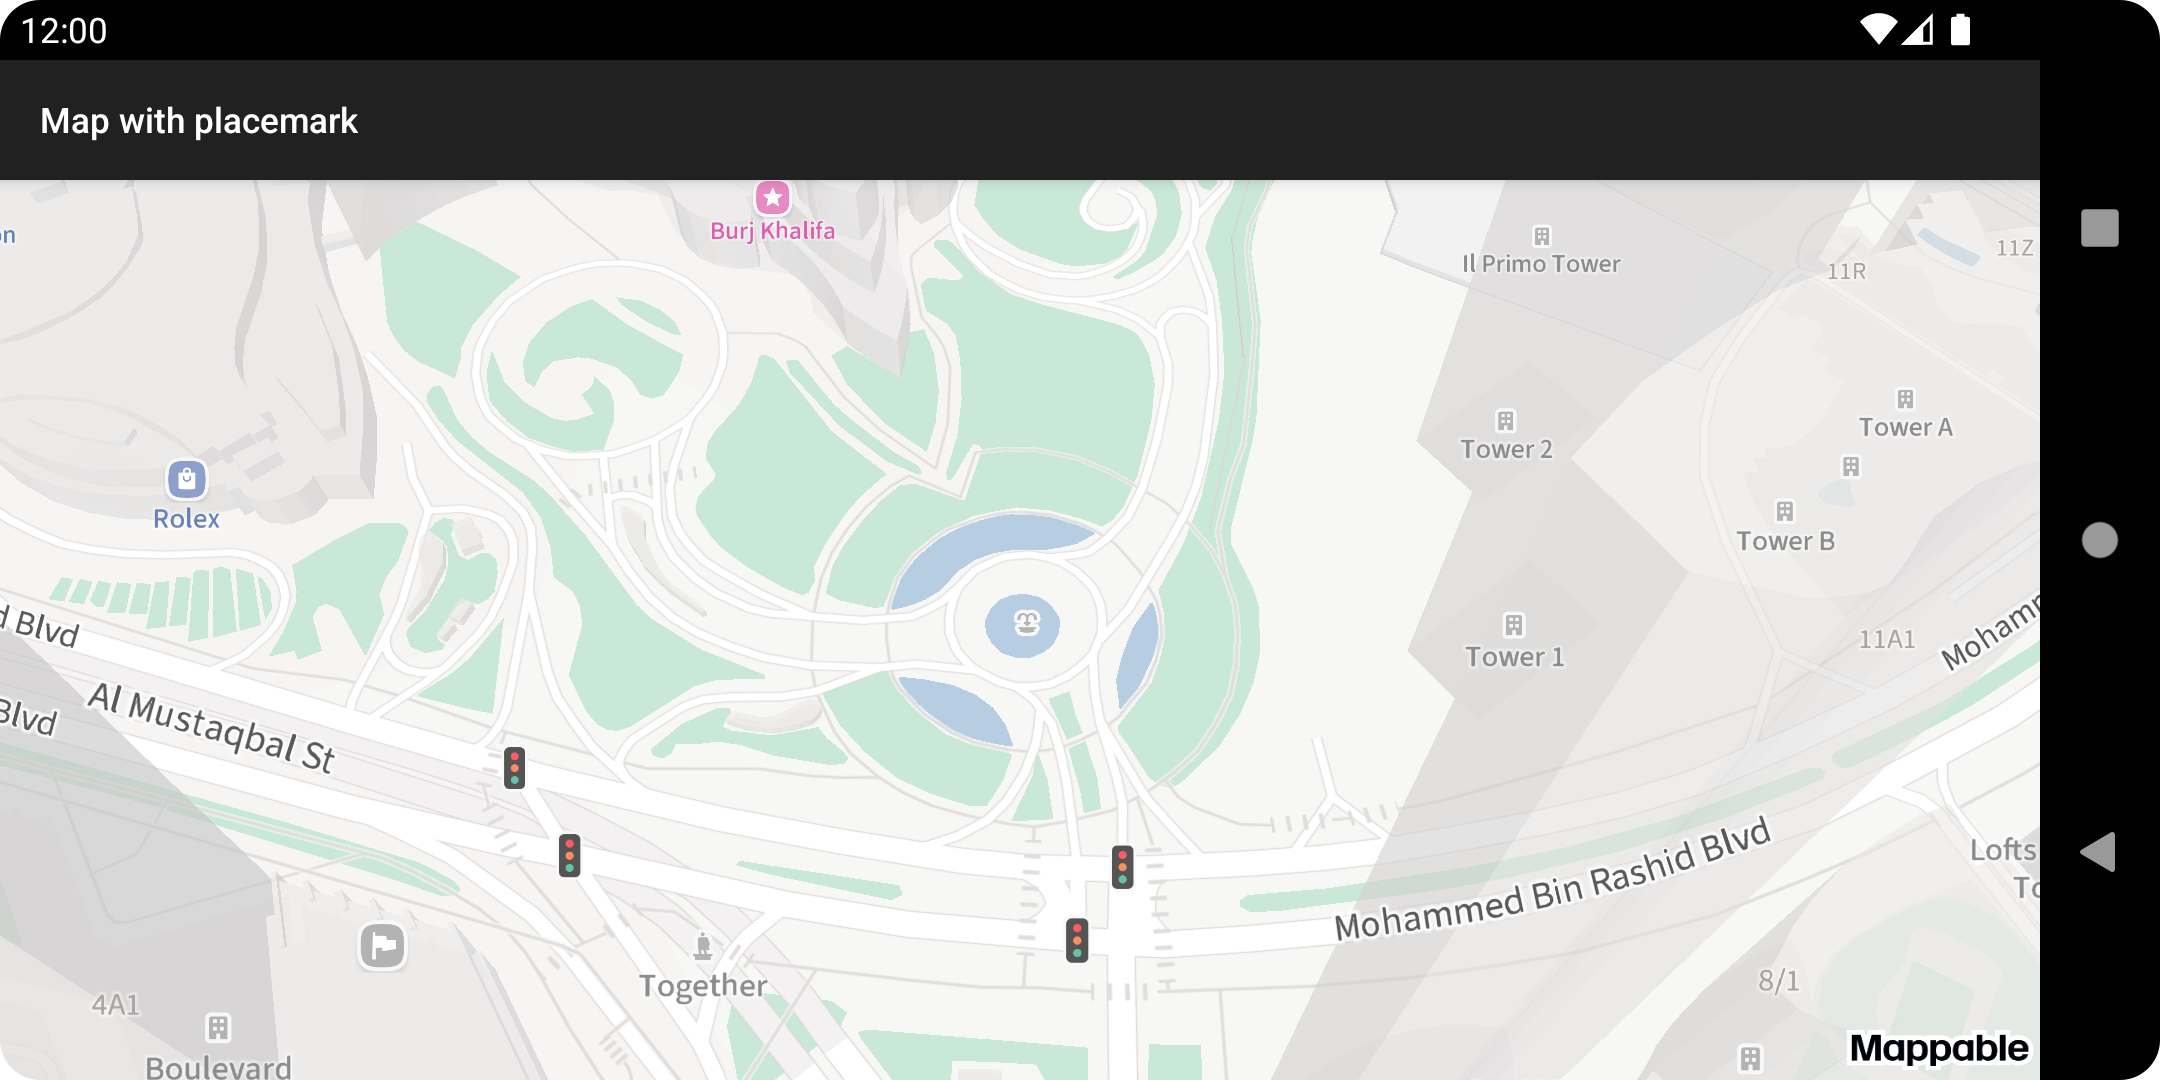
To change a map's position or zoom, use the Map.move call.
override fun onCreate(savedInstanceState: Bundle?) {
    // ...
    map.move(
        CameraPosition(
            Point(25.198200, 55.272758),
            /* zoom = */ 17.0f,
            /* azimuth = */ 150.0f,
            /* tilt = */ 30.0f
        )
    )
}
The
Map.movecall accepts the CameraPosition argument, which fully defines the map's position, zoom, tilt, and azimuth.There's an example of the Activity after applying the move to the map:
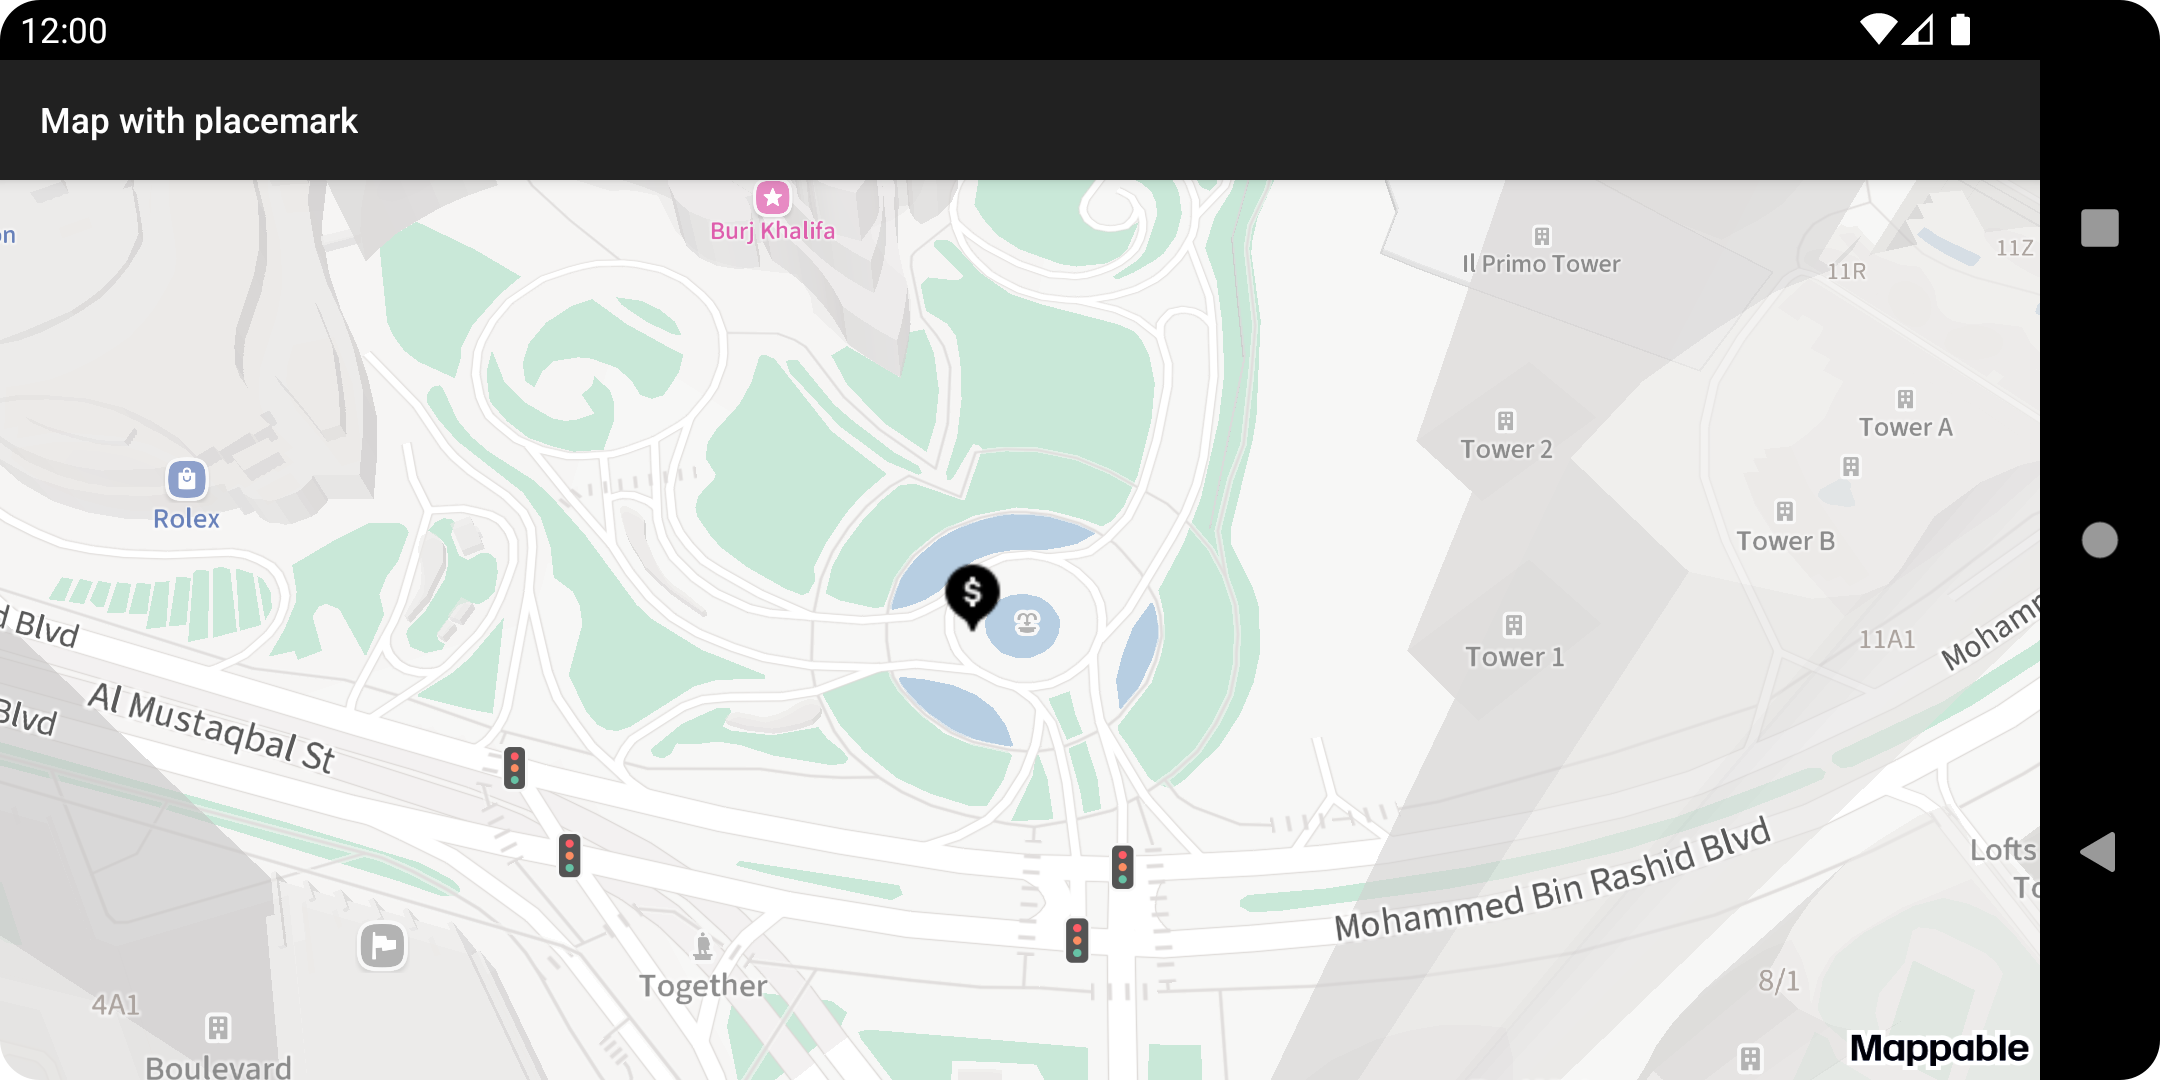
Step 5. Display a placemark on the map
Let's modify the application such that you can show a tappable placemark on the map.
-
Add a
pngresource for the placemark image to the project. For example, we have the image, and it is accessible by theR.drawable.ic_pinidentificator.
-
Using ImageProvider.fromResource, create an ImageProvider instance for a placemark image. Add the placemark for the
mapObjectcollection to the specific location.override fun onCreate(savedInstanceState: Bundle?) { // ... val imageProvider = ImageProvider.fromResource(this, R.drawable.ic_pin) val placemark = mapView.map.mapObjects.addPlacemark(Point(25.198200, 55.272758), imageProvider) } -
Subscribe to create placemarks using the MapObjectTapListener listener:
private val placemarkTapListener = MapObjectTapListener { _, point ->
    Toast.makeText(
        this@MainActivity,
        "Tapped the point (${point.longitude}, ${point.latitude})", Toast.LENGTH_SHORT).show()
    true
}

override fun onCreate(savedInstanceState: Bundle?) {
    // ...
    placemark.addTapListener(placemarkTapListener)
}
Warning
Store references to objects passed to MapKit SDK by yourself.
Under the hood, MapKit is a native library that stores weak references to the listener objects passed to it.
In order to keep garbage collectors from invalidating the subscription, store references to them in a memory by yourself. -
Build and run your application. There's a placemark with your custom image on the map. Tap the placemark, and the message toast will show up: